DIY Home Painting Tips - Achieve Professional Results with Ease

Painting your home is one of the most cost-effective ways to transform your space, breathe new life into a room, and express your personal style. While it can be a big project, with the right preparation and techniques, you can achieve professional-quality results. Here are some essential DIY home painting tips to help you get started and ensure a smooth, beautiful finish.
Proper Preparation Preparation is the key to a successful paint job. Start by clearing the room of furniture or moving it to the center and covering it with drop cloths or plastic sheeting. Protect your floors with drop cloths or rosin paper. Next, clean the walls to remove any dust, dirt, or grease, which can prevent paint from adhering properly. Use a mixture of water and mild detergent for this task. Once the walls are clean and dry, inspect them for any cracks, holes, or imperfections. Use spackle or a suitable filler to repair these areas, then sand them smooth. This step ensures that your painted surface is even and flawless.
Choose the Right Paint and Tools Selecting the right paint and tools is crucial for a successful DIY painting project. Start by choosing the appropriate type of paint for your room. For high-traffic areas like kitchens and bathrooms, opt for a durable, washable paint with a semi-gloss or satin finish. For bedrooms and living areas, a flat or eggshell finish can provide a more elegant, subtle look. Don’t skimp on brushes and rollers; high-quality tools make a significant difference in the application and finish. Use a good-quality brush for cutting in along edges and trim, and a roller with the correct nap length for your walls' texture.
Use Painter's Tape for Clean Lines Achieving clean, professional-looking edges can be challenging, but painter’s tape can help. Use painter’s tape to mask off trim, windows, and ceilings, ensuring sharp, clean lines. Apply the tape carefully, pressing it down firmly to prevent paint from seeping underneath. To avoid peeling off fresh paint when removing the tape, do so before the paint is fully dry, ideally within an hour of application. This technique helps maintain crisp edges and a polished look.
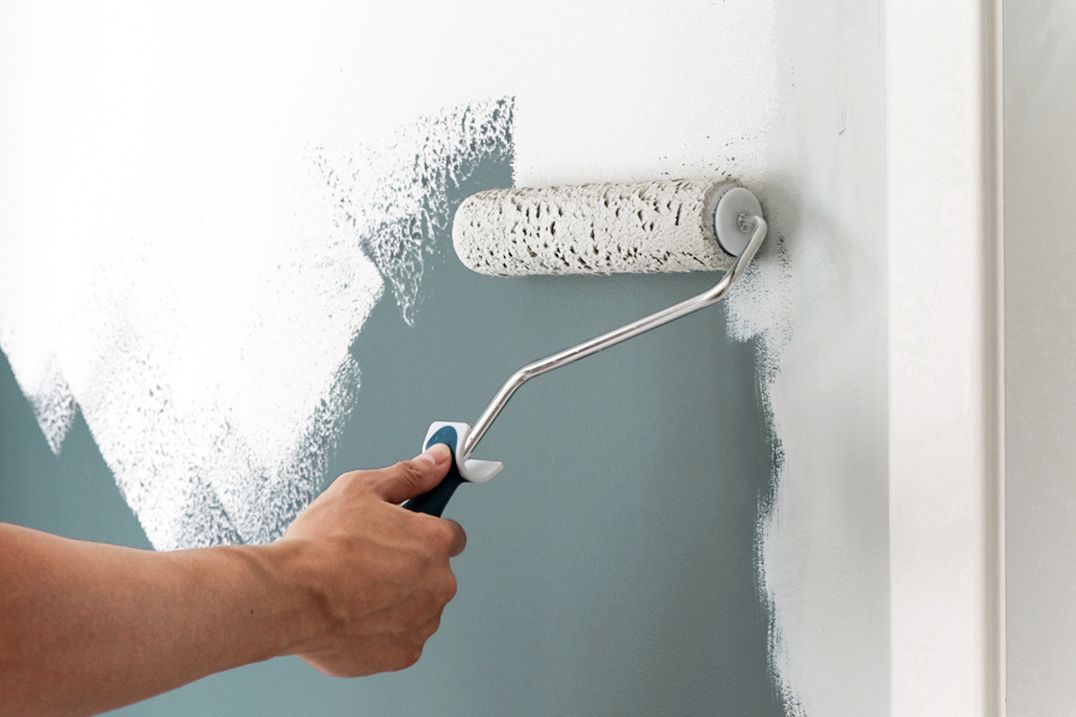
Master the Painting Technique Proper painting technique is essential for an even, streak-free finish. Start by cutting in around the edges of the walls with a brush. This involves painting a 2-3 inch border along the ceiling, corners, and baseboards. Once the edges are done, use a roller to fill in the main wall area. Work in small sections, applying the paint in a “W” or “M” pattern to ensure even coverage and to avoid visible roller marks. Overlap slightly with the previously painted section to blend the paint seamlessly. Apply two coats of paint for the best coverage, allowing adequate drying time between coats as recommended by the paint manufacturer.
Clean Up and Touch Up Once the painting is complete, carefully remove the painter’s tape while the paint is still slightly wet to avoid peeling. Clean your brushes and rollers immediately with soap and water if you used water-based paint, or with the appropriate solvent for oil-based paints. Check the painted walls for any missed spots or uneven areas and touch up as needed with a small brush. Finally, replace the furniture and decorations once the paint has fully dried, typically after 24-48 hours.